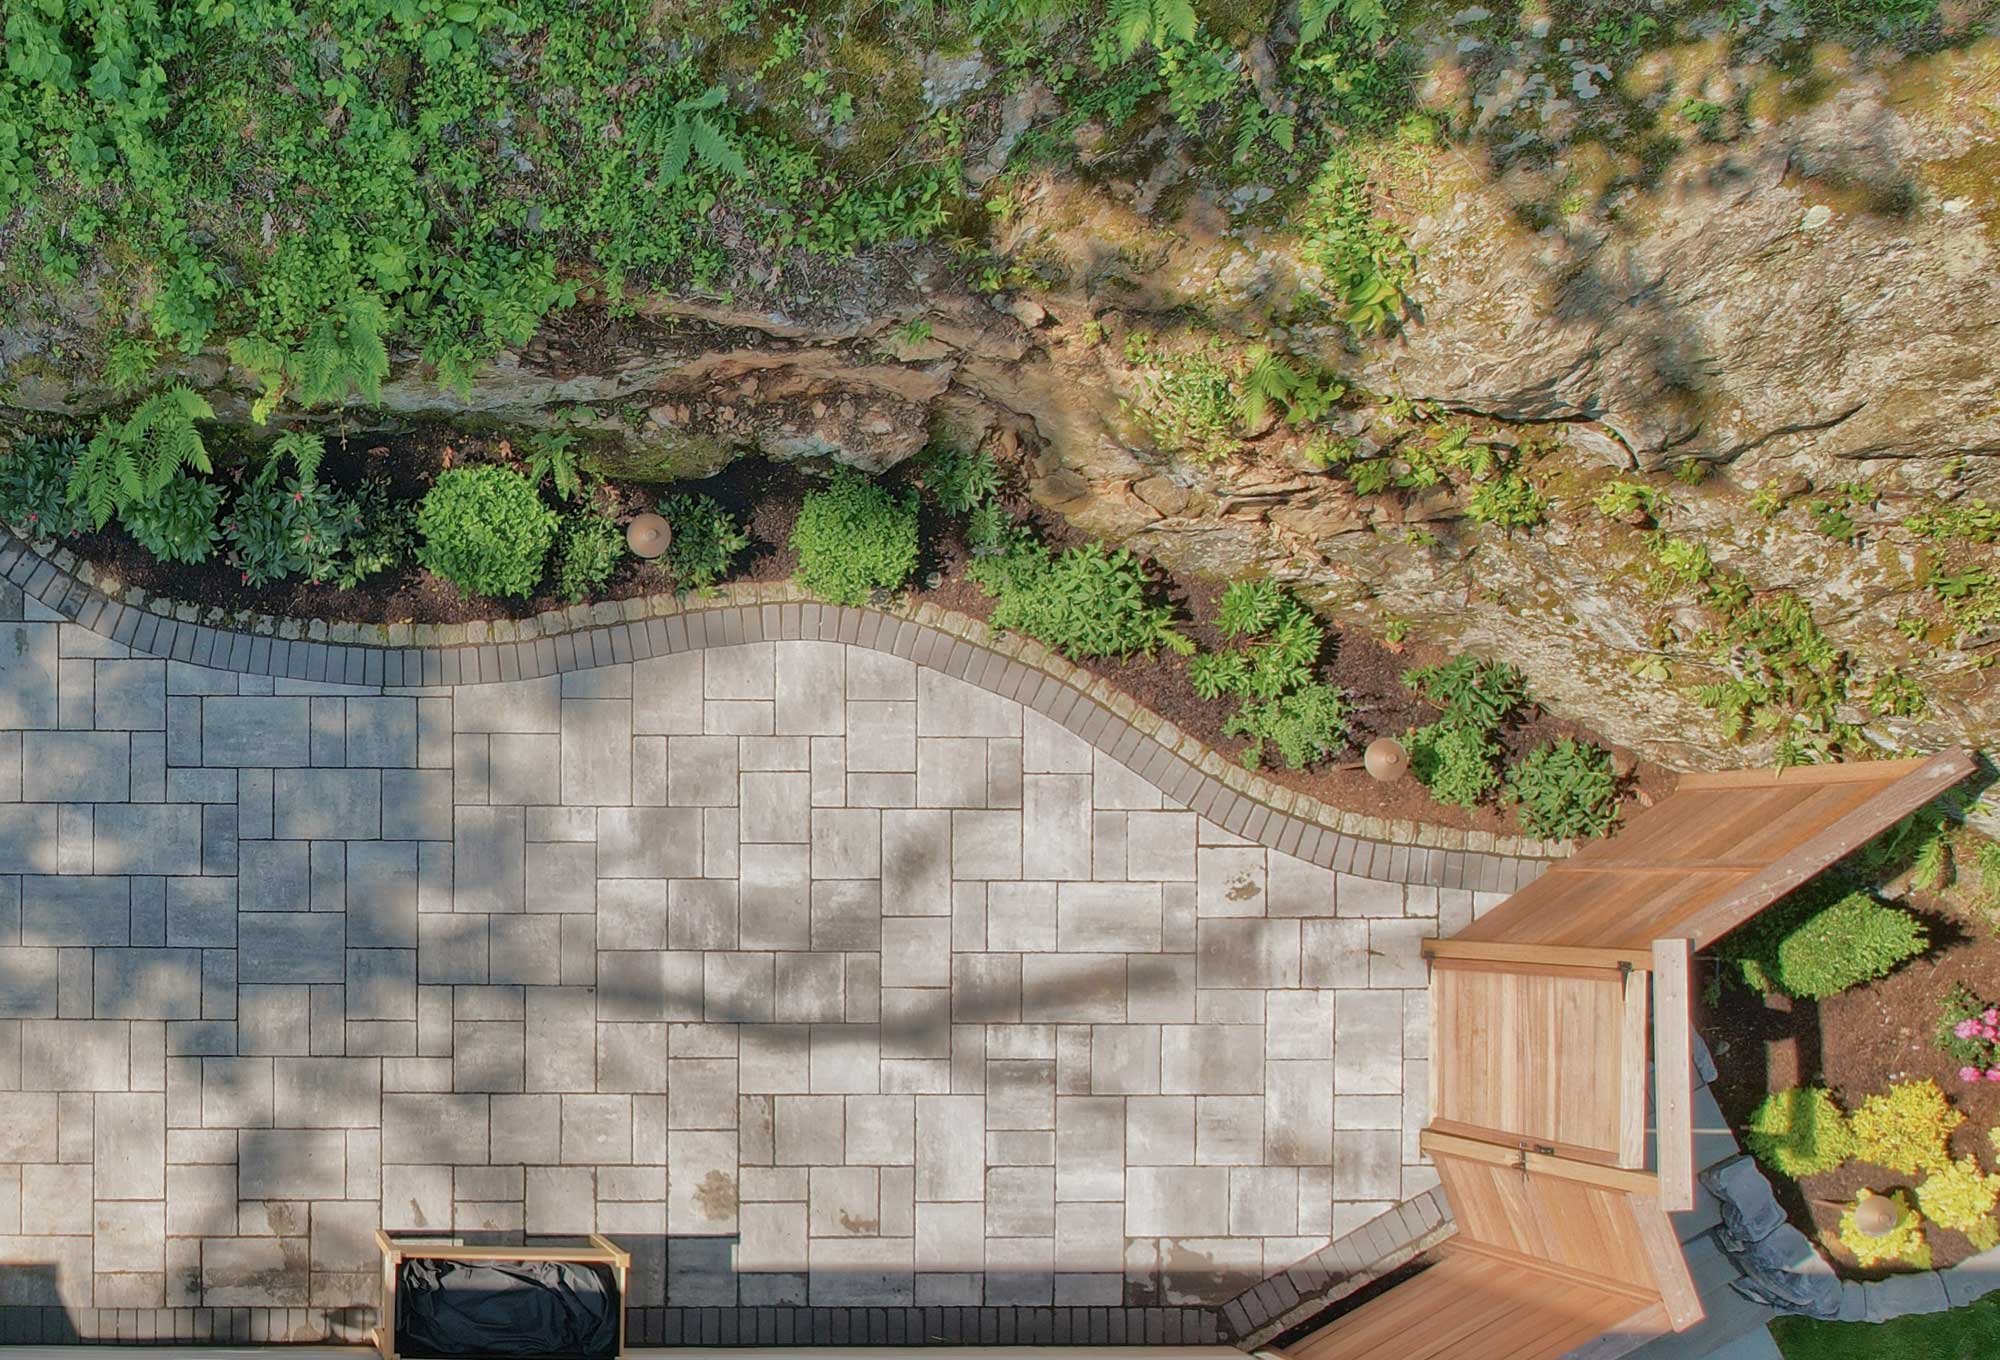
Add functionality and aestetic appeal to your backyard garden with these ten steps to paver walkway installation.
If you want to add beauty and walkability to your outdoor space, a paver walkway is a great investment. Paver walkways are an excellent addition to any property as they enhance the aesthetic appeal, increase the value of the property, and provide a safe and convenient way to get around the property. However, installing a paver walkway requires a fair amount of planning and hard work. The following ten steps to paver walkway installation will help you create a beautiful and functional walkway that you will enjoy for years to come.
If you want to sit back and let the professionals take care of your paver walkway installation, contact the team at Manzer’s Lansdcaping. We have over 30 years of experience creating curb appeal for our clients in Peekskill, NY.
Call us at 914-739-2020 or fill out our contact form
Ten steps to paver walkway installation
By following these steps you’ll be able to successfully create a paver walkway that is both beautiful and functional.
1. Planning: The first step in any successful project is planning. Determine the location of the walkway, the dimensions, and the paver style and pattern. Take accurate measurements of the area and mark the boundaries of the walkway with stakes and string.
2. Excavation: You’ll want to clear and clean the area before getting started! Remove the grass and vegetation from the area, and dig a trench for the paver base. The depth of the trench should be around 6-8 inches, depending on the thickness of the pavers and the base material.
3. Base material: Add and compact a layer of base material such as crushed stone or gravel to the bottom of the trench. The thickness of the layer should be around 2-3 inches.
4. Sand layer: Sand is a great option for filling in the holes and crevices between the base layer material. Add a layer of sand over the base material and level it with a rake to a thickness of about one inch.
5. Edge restraints: Edge restraints prevent the pavers from shifting and sliding as you add the pavers. Install edge restraints around the perimeter of the walkway and secure them in place with stakes.
6. Paver installation: Start at one end of the walkway and lay the pavers in the desired pattern. Use a rubber mallet to tap each paver into place, and ensure that each paver is level with the adjacent pavers before moving on. You’ll save yourself headaches and tripping hazards later by ensuring things are even and secure.
7. Cutting: Use a wet saw to cut the pavers to fit the desired pattern and to fit around any obstacles, such as trees or flower beds.
8. Sanding: Once the pavers are all in place, spread a layer of sand over the surface of the pavers and sweep it into the joints.
9. Compacting: Use a plate compactor to compact the pavers and sand into the joints so things are smooth and even.
10. Finishing touches: Now it’s time for the finishing touches! Sweep any excess sand off the surface of the pavers and add a border of decorative stones or plants along the edges of the walkway to achieve your desired look.
Manzer’s Landscaping for the perfect paver walkway
Installing a paver walkway can be a challenging task, but the folks at Manzer’s are here to help you create a walkway you and your family can enjoy for years to come! If you need some help incorporating these steps to paver walkway installation, don’t hesitate to reach out. With over 30 years of experience, we have helped countless families in Peekskill, New York and the surrounding areas create the backyard of their dreams. We’d be delighted to help you too!
If you’re looking to incorporate these steps to paver walkway installation to enhance the functionality of your outdoor space give us a call!
Call us at 914-739-2020 or fill out our contact form

